Getting Started with Freenova ESP32-S3 Cam: Ultimate Setup & Web Server Tutorial
he Freenova ESP32-S3 Cam is a massive upgrade over the classic ESP32 camera module. In this detailed tutorial, we compare the hardware differences and walk you step-by-step through configuring the Arduino IDE to launch your own live video streaming web server.
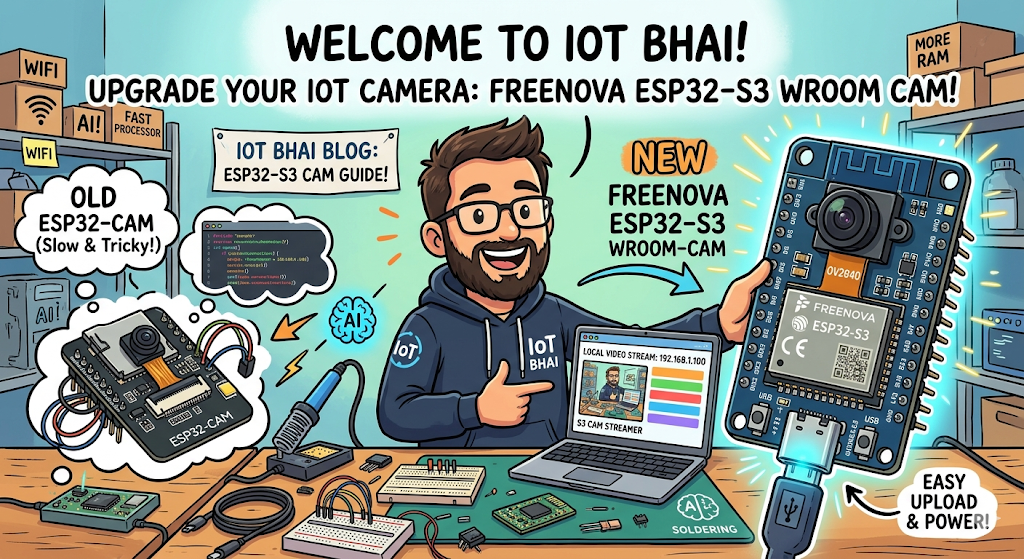
Welcome back to the IoT Bhai blog! If you're passionate about low-cost IoT cameras, video streaming projects, or integrating AI into your electronic designs, you probably already know the classic ESP32 Camera module.
It's been the go-to cheap camera board for years, but it had its limitations (tricky code uploading, slower processor, limited RAM). Today, we’re stepping into the future by experimenting with its successor: the Freenova ESP32-S3 WROOM Cam.
In this detailed guide, we’ll break down why the S3 Cam is a massive upgrade, walk you through the entire software configuration, and show you how to launch your own local video streaming web server.
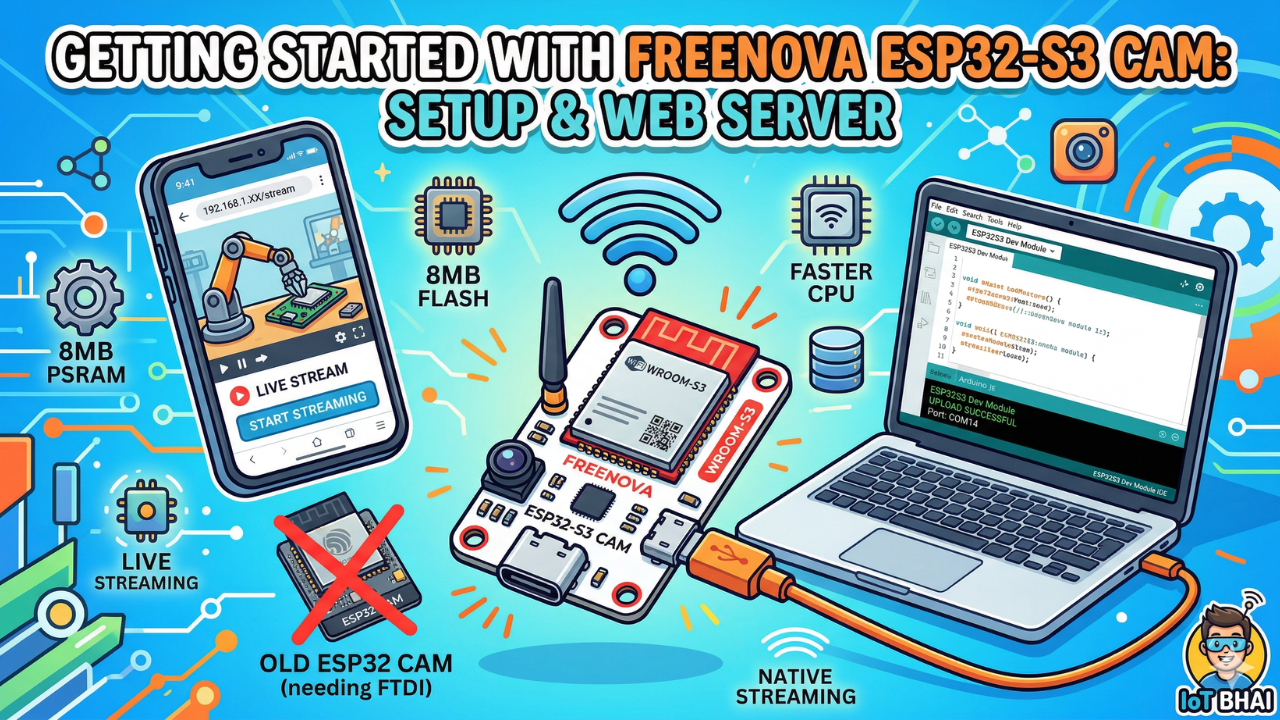
🆚 Why Upgrade? Freenova ESP32-S3 Cam vs. Old ESP32 Cam
Before we write any code, let's understand why you should care about this new board. The original ESP32 Cam required a separate FTDI or MB programmer board just to upload code. The Freenova S3 Cam solves this and brings major performance improvements:
📺 Watch the Video Tutorial
Prefer watching over reading? No problem! I’ve put together a complete, step-by-step video tutorial on the IoT Bhai YouTube channel. You can watch the full experiment right here:
🛠️ Components Needed
To follow along with this tutorial, you will need:
- Freenova ESP32-S3 Cam Board (get the one with the attached WROOM module).
- USB Type-C Cable (for power and programming).
- Computer with the Arduino IDE installed.
- Wi-Fi Access Point (your home router).
Software Setup
- Arduino IDE: Make sure you have the latest version installed.
- ESP32 Board Support: You must have the ESP32 board manager installed in your IDE. Need help? Check out my guide: How to Set Up ESP32 in Arduino IDE 2.0 (Windows/Ubuntu)
Download and Configure the Code
For this experiment, we are using the official Espressif camera example.
- Download the project code: [GitHub].
- Open the project file (
.ino) in the Arduino IDE.
Wi-Fi Credentials: In the same file, locate the Wi-Fi section and replace the placeholders with your home network name (SSID) and password:
const char* ssid = "Your_Home_Wi-Fi_Name";
const char* password = "Your_Wi-Fi_Password";
Crucial Modification: Scroll down to the camera definition section. You must uncomment the correct camera model. For the Freenova S3 WROOM, ensure only this line is uncommented:
#define CAMERA_MODEL_WROOM_S3_PSRAM
(Make sure all other camera models have // at the start of the line.)
Board Upload Settings (Don't Skip!)
This is the main step where people fail! The ESP32-S3 Cam requires very specific upload settings in the Arduino IDE. Configure your Tools menu exactly as follows:
- Board: ESP32S3 Dev Module
- USB CDC On Boot: Enabled (This is essential! Without this, you will not receive any diagnostic messages in the Serial Monitor.)
- PSRAM: OPI PSRAM (Selecting this enables the 8MB external RAM for smooth, high-quality video.)
- Port: Select the proper COM port associated with your connected S3 board (e.g., COM14).
Step 4: Upload the Code
Click the Upload arrow in the Arduino IDE. The native USB Type-C connection will start flashing the code to the board. Once the IDE says "Done Uploading," you are ready to test.
🚀 Testing Your ESP32-S3 Cam Live Stream
Now that the code is on the board, let’s go live!
- Open the Serial Monitor: In the Arduino IDE, go to
Tools>Serial Monitor(set the baud rate to 115200). - Wait for the IP: You will see messages showing that the PSRAM is found, the camera is initialized, and the board has successfully connected to your Wi-Fi. It will print its local IP address:
Camera Ready! Use 'http://192.168.1.XX' to connect
- Access the Web Portal: Copy that entire IP address (
http://...) and paste it into a web browser on a computer or phone connected to the same Wi-Fi network.
Result 1: Live Video Feed
The Freenova control portal will load. Scroll down and click "Start Streaming."
You should immediately see the live camera feed from the ESP32-S3 module! As demonstrated in the experiment, you will get a clear image in enough daylight. The extra 8MB of PSRAM ensures the stream is consistent and much smoother than previous ESP32 Camera models.
Result 2: Taking Still Images
In the same portal, you can click the "Get Still" button. This captures a high-resolution still image directly from the live feed and displays it. You can adjust resolution settings (e.g., VGA vs. HD) directly from the browser controls to see how it affects your captured photos.
🎓 Conclusion & Future Projects
Congratulations! You have successfully set up the Freenova ESP32-S3 Cam as a local web server streaming live video. This experiment proves how much easier and faster the new S3 hardware is compared to its predecessor.
What’s next for the IoT Bhai blog? We are just getting started with this powerhouse board. In future tutorials, we will explore:
- Taking still pictures and uploading them directly to a server.
- Implementing real-time face recognition.
- Advanced AI processing using the S3's vector instructions.
If you have any questions or have successfully launched your stream, let us know in the comments below!