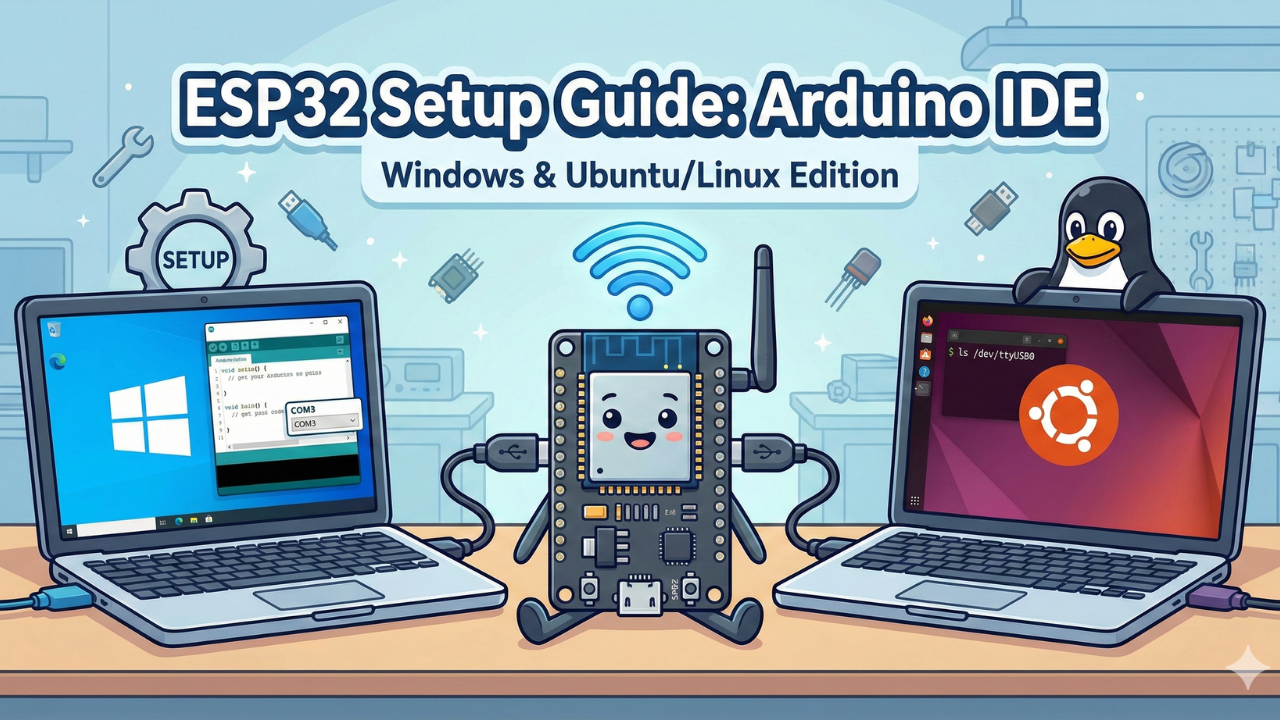
How to Set Up ESP32 in Arduino IDE 2.0: Windows & Ubuntu Guide
The ultimate guide to setting up ESP32 on Arduino IDE 2.0. This post covers the Board Manager URL, driver installation (CP210x/CH340), and critical permissions for both Windows and Ubuntu Linux users. Fix common connection issues and start coding today.
The ESP32 is one of the most powerful and popular microcontrollers for IoT projects. Whether you are building a smart home device or a remote sensor, everything starts with setting up your development environment.
In this guide, I will show you exactly how to install the ESP32 board in the Arduino IDE and troubleshoot common driver issues. Let's get started.
Why Use Arduino IDE for ESP32?
You might be wondering, "Why use the Arduino IDE when there are other tools like VS Code or Espressif IDF?"
While professional engineers often use Espressif's native tools, the Arduino IDE remains the best choice for hobbyists, makers, and rapid prototyping. Here is why:
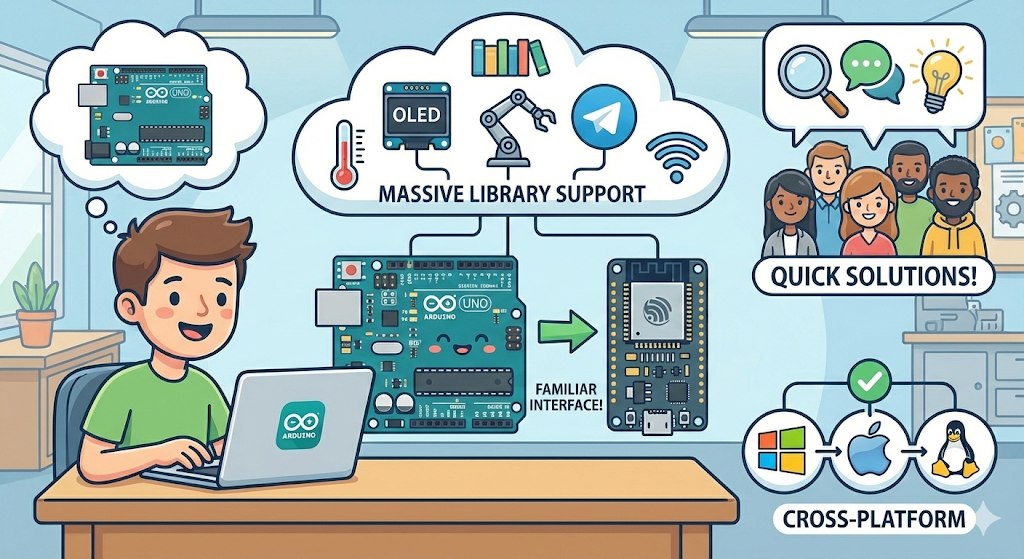
- Familiarity: If you have ever used an Arduino Uno or Nano, the interface is exactly the same. You code in C++, which is easy to learn and widely used.
- Massive Library Support: This is the biggest advantage. Need to connect to a temperature sensor, an OLED display, or a Telegram bot? There is almost certainly a ready-made library for it in the Arduino Library Manager.
- Community Support: Because it is so popular, if you run into an error, a quick Google search usually provides the solution instantly.
- Cross-Platform: It works seamlessly on Windows, macOS, and Linux.
For 99% of IoT projects—from smart lights to weather stations—the Arduino IDE is more than capable and will save you hours of setup time.
1. Install the Arduino IDE
Standard Windows Instructions
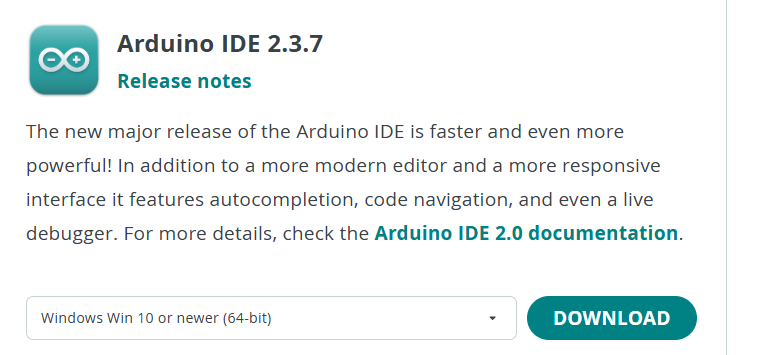
If you haven't already, download the windows version and install the latest version of the Arduino IDE from the official Arduino website.
Important for First-Time Setup: When you open Arduino IDE 2.0+ for the very first time, it will automatically start downloading some core files in the background (you will see a downloading bar at the bottom).
During this process, you may see a few pop-up windows:
- Driver Installation (
dpinst-amd64.exe): Windows will ask for permission to install drivers. You must click "Yes" or "Install". These are the basic USB drivers needed for the IDE to talk to your hardware. - Firewall Access: You may see a Windows Security alert asking if
javaw.exeormdns-discoverycan access the network. Click "Allow Access". This allows the IDE to find boards connected to your WiFi network.
Once the bottom bar says "Downloading/Installing... complete," you are ready to move to the next step.
For Ubuntu / Linux Users (Special Setup)
Installing on Linux is slightly different. We generally use the AppImage format, which runs on almost any distribution (Ubuntu, Fedora, Mint, etc.).
A. Download and Run
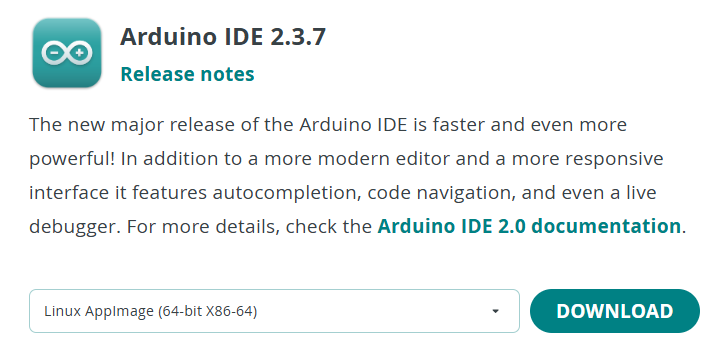
Go to the Arduino Software page and download the Linux AppImage 64 bits (x86-64).
Once downloaded, you cannot run it immediately. You must make it executable:
- Right-click the file > Properties > Permissions tab.
- Check the box: "Allow executing file as program".
Now, double-click the file to launch the IDE.
B. The "Dialout" Permission (Critical Step)
If you plug in your ESP32 and the "Port" option is greyed out, it’s usually because your user account doesn't have permission to access serial devices.
Open your terminal (Ctrl+Alt+T) and run this command:
sudo usermod -a -G dialout $USER
Important: You must Log Out and Log Back In (or restart your computer) for this change to take effect.
2. Add the ESP32 Board Manager URL
By default, Arduino IDE only knows about standard Arduino boards. We need to tell it where to find the ESP32 definitions.
- Open Arduino IDE.
- Navigate to File > Preferences (on macOS, go to Arduino IDE > Settings).
- Look for the field labeled Additional Board Manager URLs.
- Double click on the urls field.
Paste the following link into the box:
https://raw.githubusercontent.com/espressif/arduino-esp32/gh-pages/package_esp32_index.json
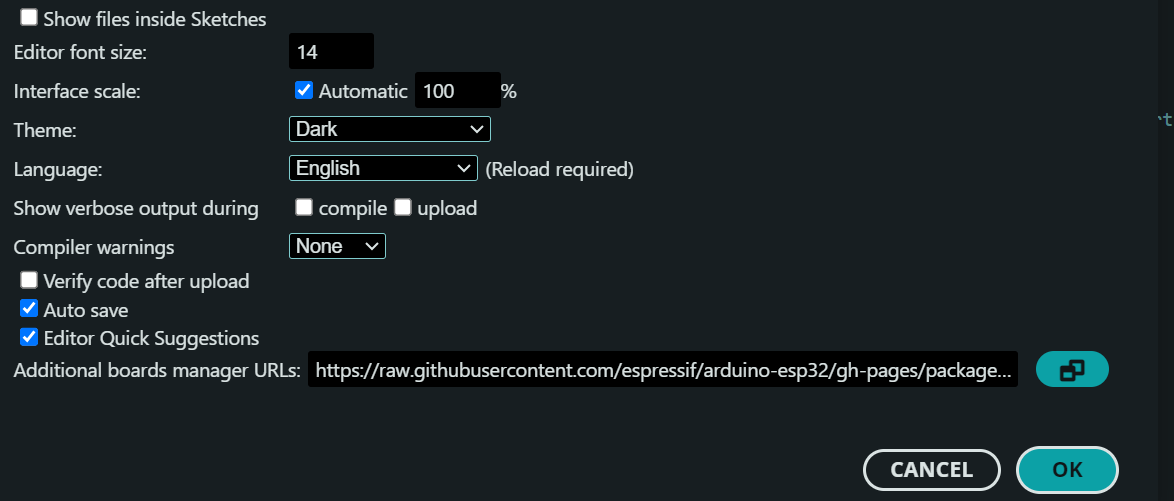
Note: If you already have other URLs listed (like for ESP8266), you can separate them with a comma.
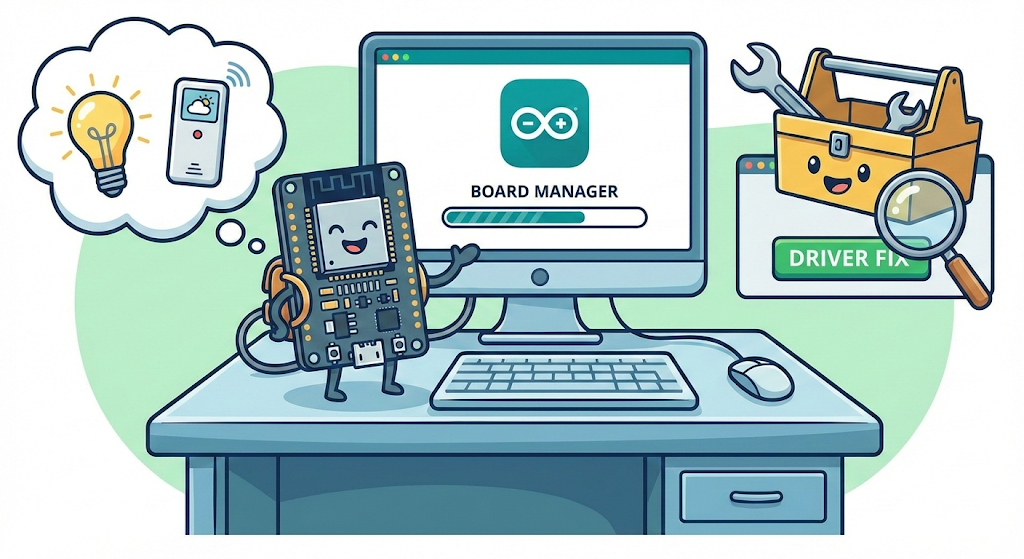
3. Install the ESP32 Platform
Now that the IDE knows where to look, let's install the board files.
- Go to Tools > Board > Boards Manager...
- In the search bar, type
esp32. - You will see "esp32 by Espressif Systems". Click the Install button.
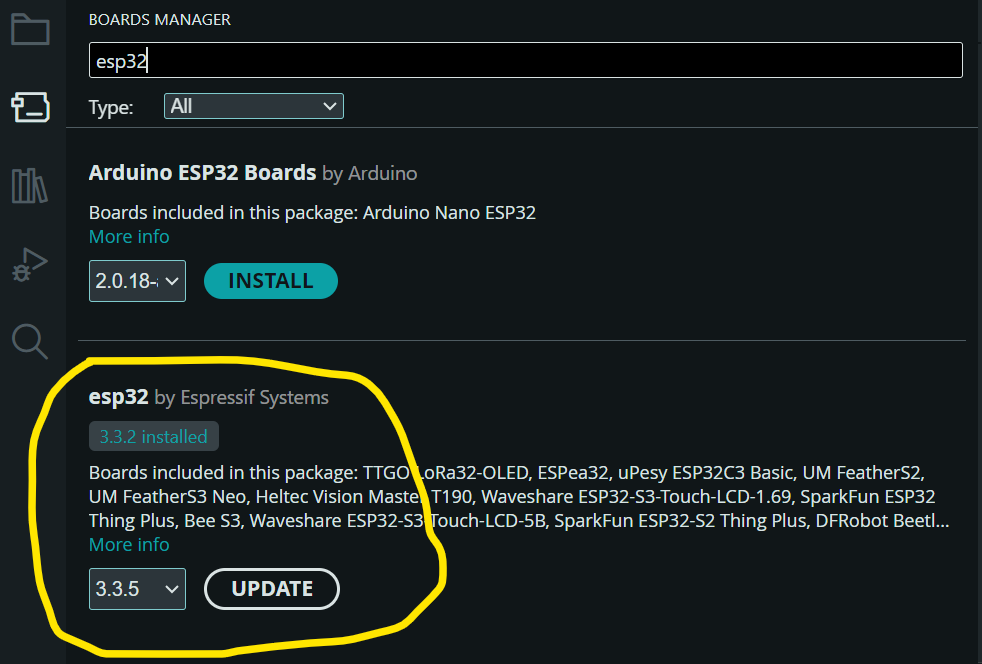
The installation might take a minute or two as it downloads the compiler and tools. Once finished, you will see "Installed" next to the name. Slow internet can interrupt the install process; it may take time to finish.
4. Install USB Drivers (CP210x or CH340) [Windows Version Only]
This is the most common issue beginners face. If you plug in your ESP32 and the "Port" option is greyed out in Arduino IDE, you are missing drivers.
Different ESP32 boards use different USB-to-UART chips. Look at the small black chip near the USB port on your board:
- CP210x: Common on high-quality NodeMCU and DOIT DevKit boards.
- CH340/CH341: Common on cheaper clone boards.
After installing the driver, restart your computer and plug the board back in.
5. Select Your Board and Port
Now you are ready to code.
- Go to Tools > Board > esp32.
- Select your specific board. If you aren't sure, "ESP32 Dev Module" is usually a safe choice for most generic boards. You may find this on number 8 from top.
- Go to Tools > Port and select the COM port that appeared when you plugged in your device.
- Windows Users: Look for
COMfollowed by a number (e.g.,COM3,COM5). If you have multiple and don't know which is which, unplug the board and see which one disappears from the list. - Ubuntu / Linux Users: You will not see "COM". Instead, look for a path starting with
/dev/.- Standard ESP32 (CP210x/CH340 drivers): usually
/dev/ttyUSB0or/dev/ttyUSB1. - Newer ESP32-S2/S3 (Native USB): might appear as
/dev/ttyACM0.
- Standard ESP32 (CP210x/CH340 drivers): usually
- Windows Users: Look for
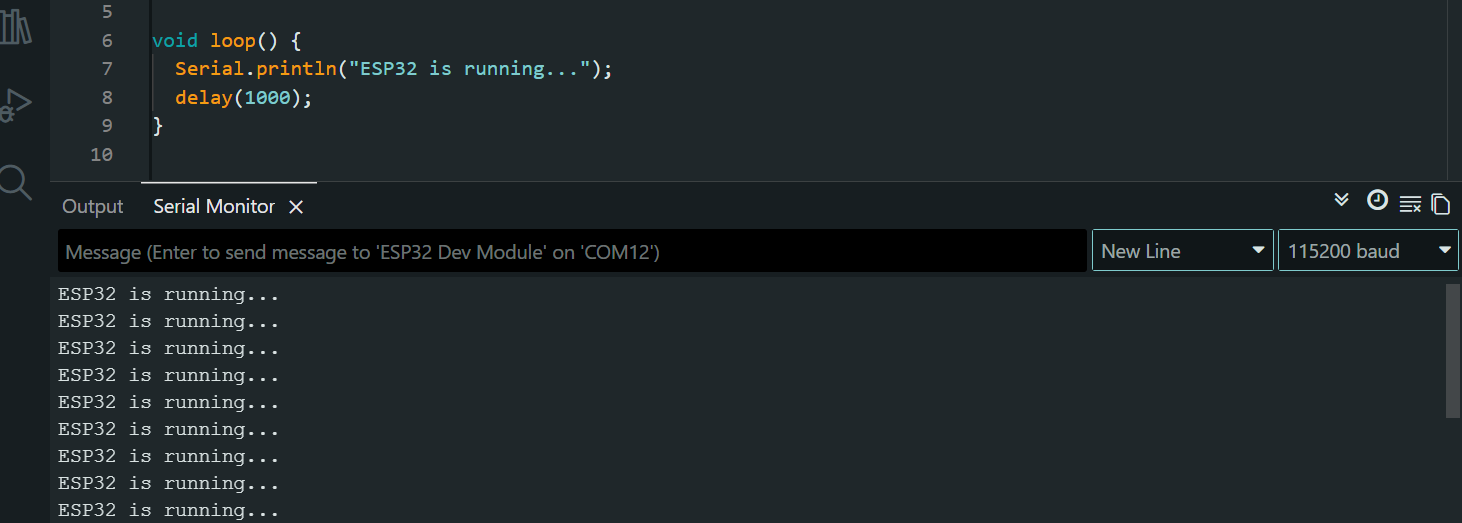
6. Verify with a Test Code (Blink)
Let's make sure everything works by uploading a simple code snippet. This code scans for available WiFi networks—a perfect test for the ESP32's capabilities.
void setup() {
  Serial.begin(115200);
  Serial.println("Setup done");
}

void loop() {
  Serial.println("ESP32 is running...");
  delay(1000);
}
- Click the Upload (Arrow) button.
- Tip: If you see "Connecting....." in the bottom console and it fails, hold down the BOOT button on your ESP32 board for 2-3 seconds when the "Connecting..." message appears.
- Once uploaded, open the Serial Monitor (Top right corner), set the baud rate to 115200, and you should see the message printing!
Conclusion
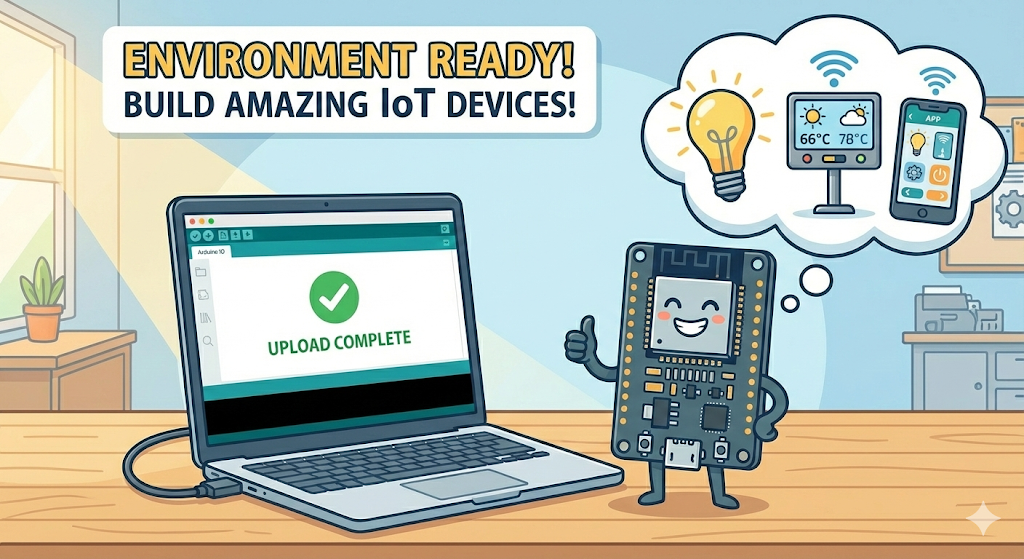
Your environment is now ready! You don't need to repeat these steps for future projects. You can now jump straight into building amazing IoT devices.