How to Install MySQL on Any Linux VPS (DigitalOcean, Linode, AWS) & Connect Remotely
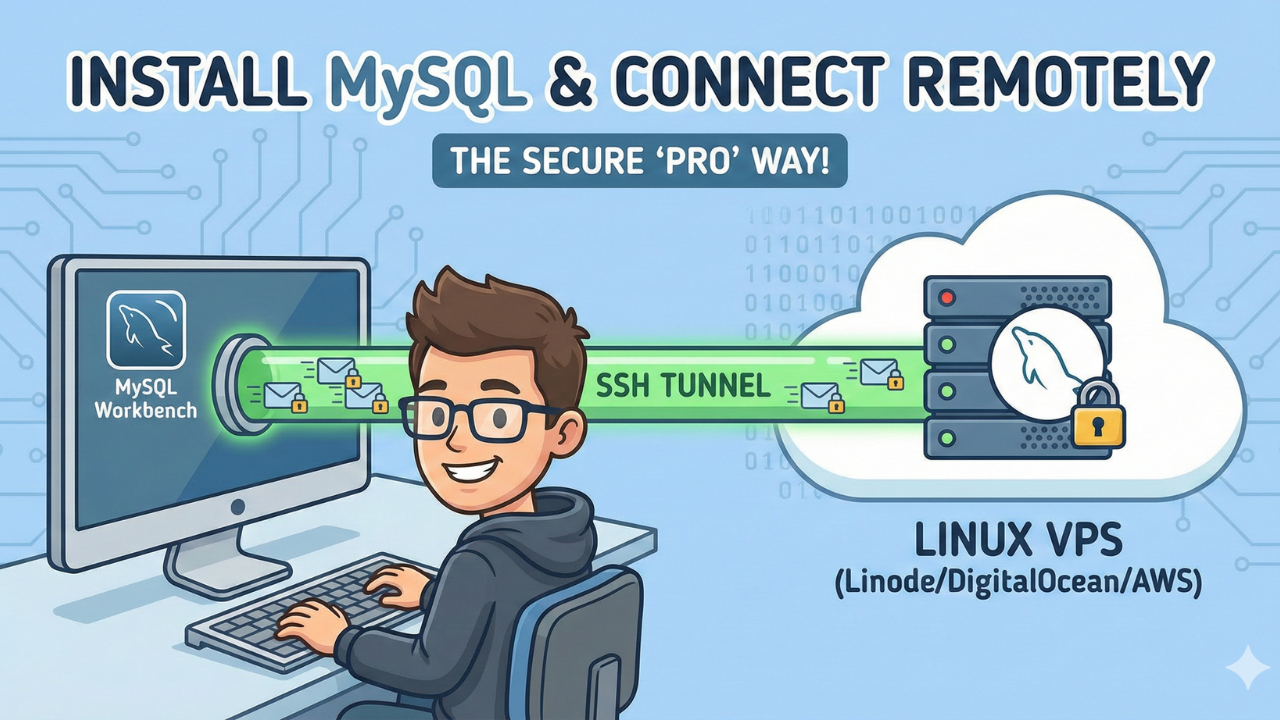
Setting up a database is crucial for any IoT or web project. In this guide, we walk you through installing MySQL on any Ubuntu VPS, securing it against threats, and connecting remotely using SSH Tunneling—the safest way to manage your data without exposing ports to the internet.
Setting up a robust database is the heartbeat of almost every application. Whether you are deploying on DigitalOcean, Linode, AWS, or a private server, the process of initializing a secure MySQL database is a fundamental skill for developers.
In this guide, we will walk you through the universal method to install MySQL on Ubuntu. We will focus on security best practices and show you the "Pro" way to connect remotely using SSH Tunneling—a technique that works on any provider and keeps your database invisible to hackers.
⚠️ Before You Begin
If this is a brand-new VPS that you just purchased, do not start installing software yet! You need to secure the operating system first.
Please follow our guide on Essential Initial Server Setup for New VPS to create a sudo user, set up a firewall, and secure SSH. Once that is done, come back here to set up your database.
Prerequisites
- A VPS running Ubuntu 20.04, 22.04, or 24.04.
- Completion of the Essential Initial Server Setup.
- MySQL Workbench (or any database client like DBeaver/TablePlus) installed on your local computer.
Step 1: Update and Install MySQL
Regardless of your cloud provider, you should always start by refreshing your package repositories. This ensures you get the latest security patches.
SSH into your server and run:
sudo apt update
sudo apt install mysql-server -y
Once installed, the MySQL service usually starts automatically. Verify it with:
sudo systemctl status mysql
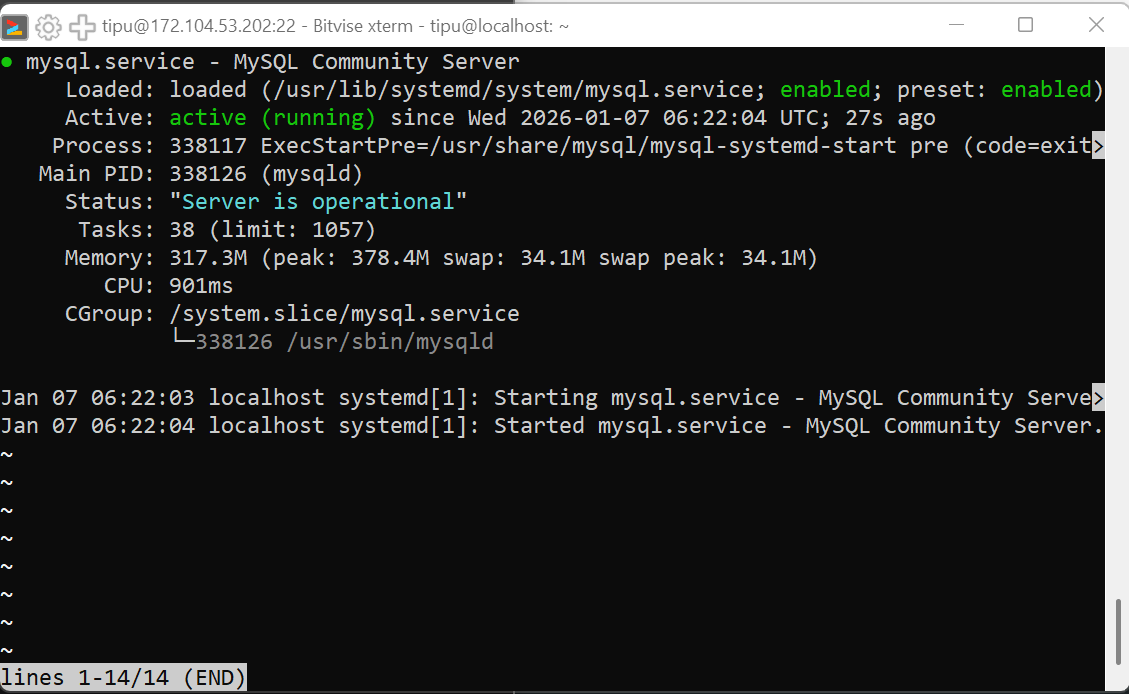
active (running) in green, the server is ready.Step 2: Secure the "Insecure" Defaults
Fresh MySQL installations come with generic settings that aren't safe for production (like test databases and anonymous users).
Run the automated security script included with the installation:
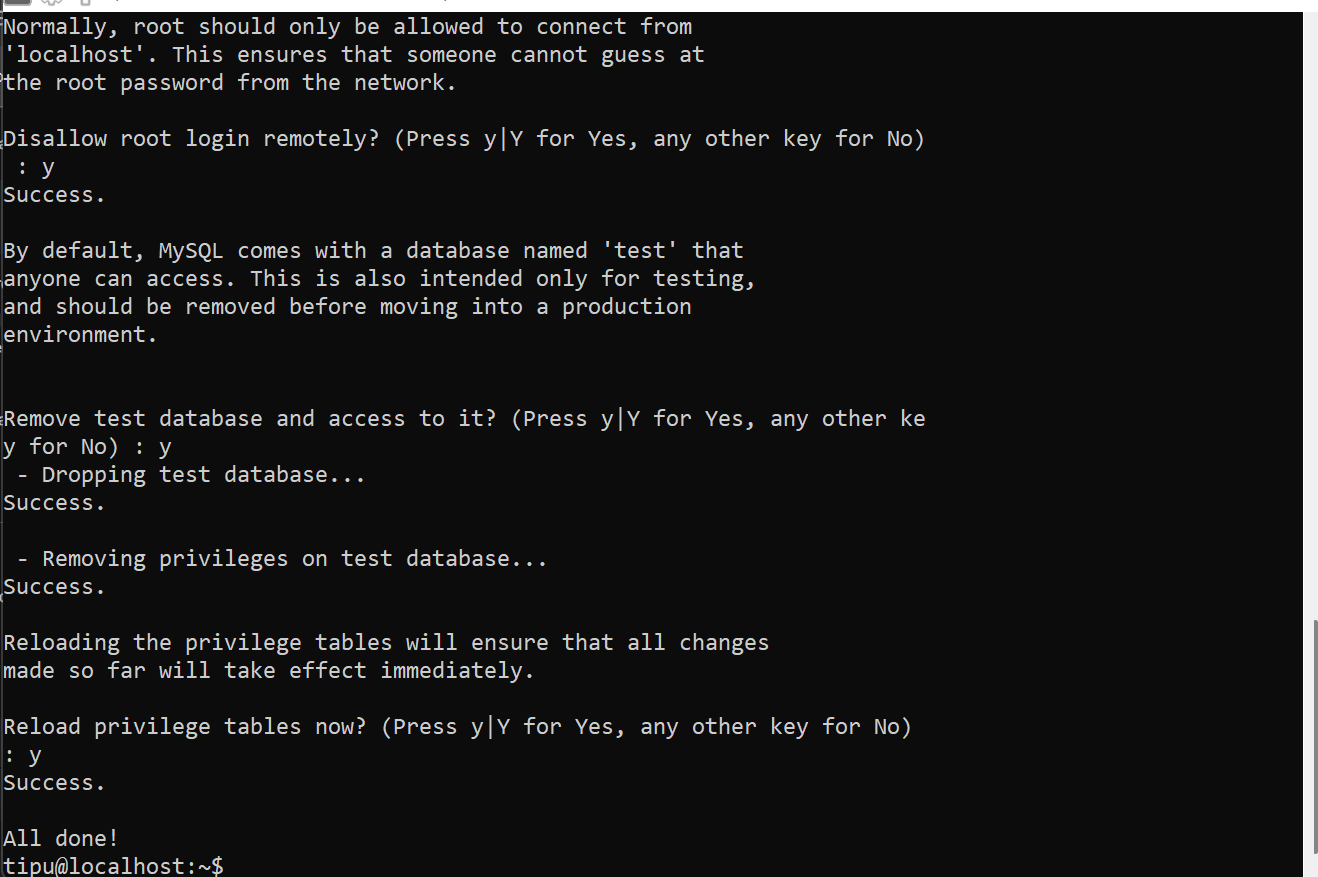
sudo mysql_secure_installation
Recommended responses for a secure server:
- VALIDATE PASSWORD COMPONENT?
Y(Enforce strong passwords). - Remove anonymous users?
Y. - Disallow root login remotely?
Y(Crucial: never allow the database root user to login from the internet). - Remove test database?
Y. - Reload privilege tables now?
Y.
Step 3: Create a Dedicated Database User
Best Practice: Never use the root user for your applications (Node.js, Python, PHP, etc.). It has too much power. Instead, create a specifically scoped user.
- Log in to the MySQL shell:
sudo mysql- Create a new database:
CREATE DATABASE senseHub;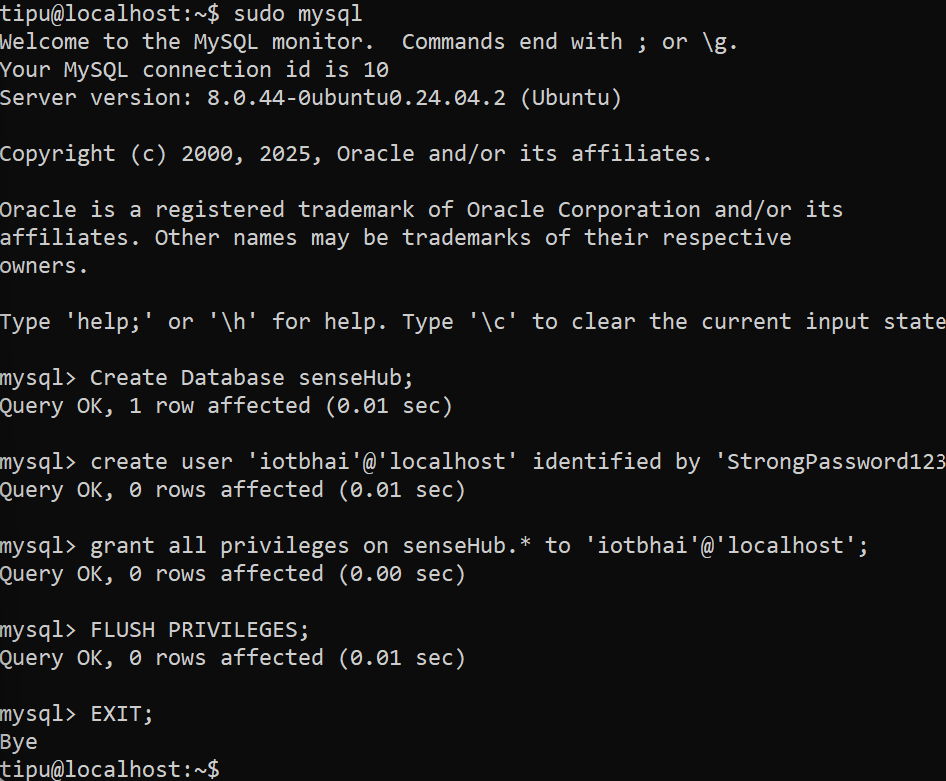
- Create a local user: Replace
iotbhaiand theStrongPassword!123with your own credentials.
CREATE USER 'iotbhai'@'localhost' IDENTIFIED BY 'StrongPassword!123';
Why 'localhost'? This restricts the user so they can strictly only connect from inside the server (e.g., your API running on the same machine). This is a massive security feature.
- Grant permissions:
GRANT ALL PRIVILEGES ON senseHub* TO 'iotbhai'@'localhost';
- Apply and Exit:
FLUSH PRIVILEGES;
EXIT;
Step 4: The "Pro" Way to Connect Remotely (SSH Tunneling)
Most beginners open port 3306 in their firewall to allow remote connections. Avoid this. It exposes your database to brute-force attacks from across the globe.
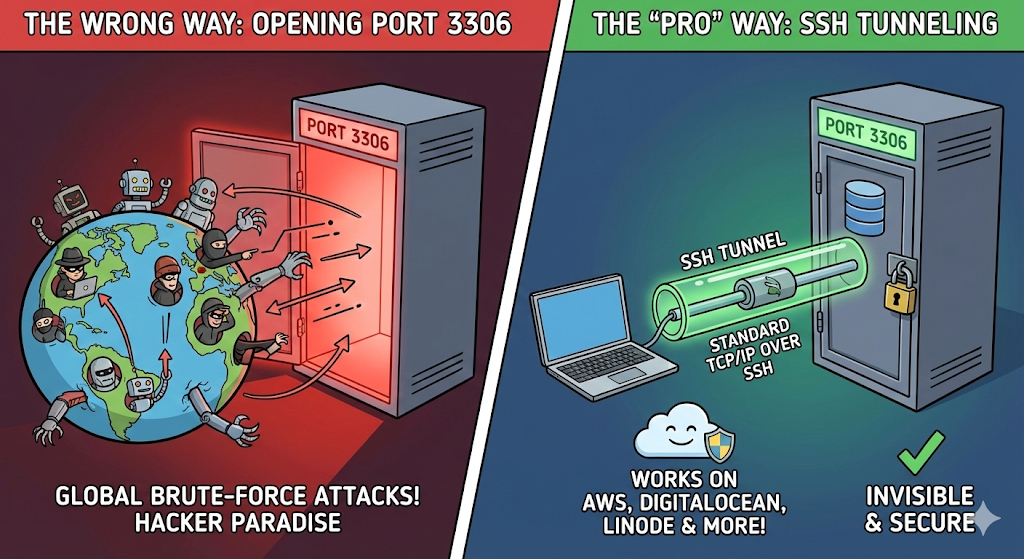
Instead, use Standard TCP/IP over SSH. This piggybacks your database connection on top of your secure SSH connection. It works identically on AWS, DigitalOcean, and Linode.
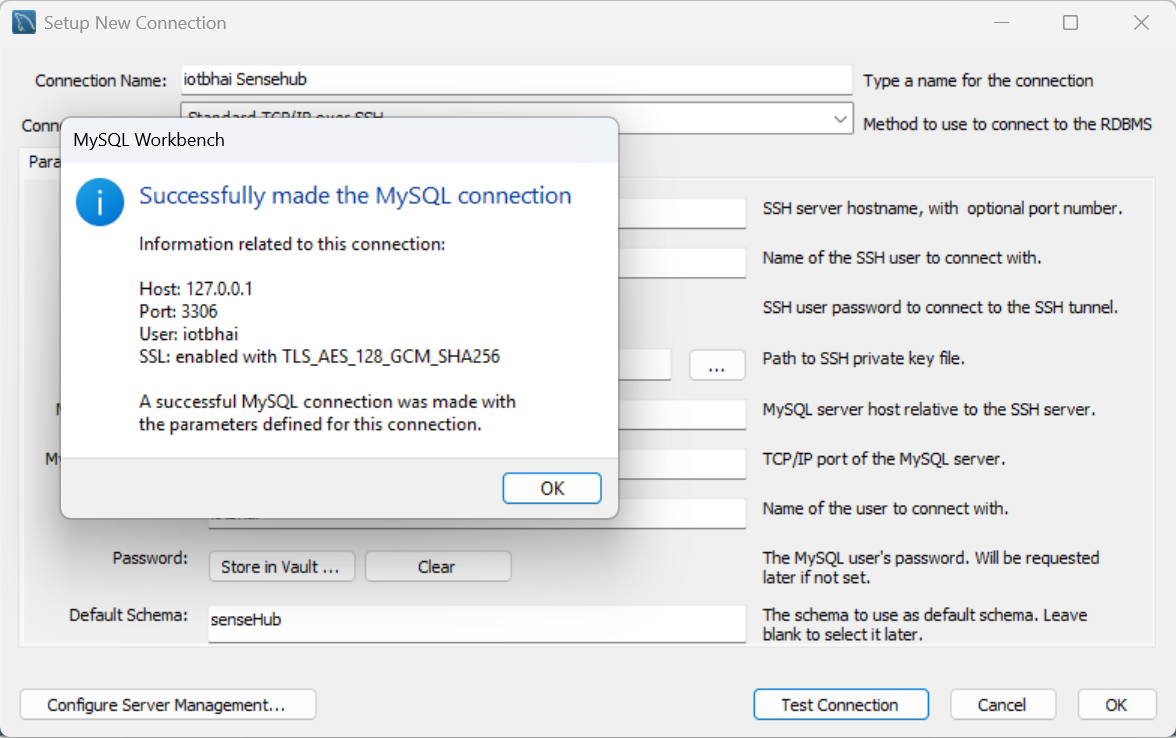
Setup in MySQL Workbench:
- Click the (+) icon to add a connection.
- Connection Method: Select
Standard TCP/IP over SSH. - SSH Hostname: Your VPS IP Address (e.g.,
192.0.2.1). - SSH Username: Your Linux system user (the one you created in the Initial Setup).
- SSH Key/Password: Your standard server login credential.
- MySQL Hostname:
127.0.0.1(Leave this exactly as is!). - Username: The database user you created in Step 3 (
iotbhai).

Click Test Connection. If the lights turn green, you are securely connected without ever opening a database port!
Conclusion & What's Next?
You now have a secure, remote-accessible database ready for your projects!
Now that your data storage is handled, you need a way for your IoT devices to send data to your server. The industry standard for this is MQTT.
👉 Next Step: Read our complete guide on Setting Up a Private MQTT Broker on Cloud VPS.
📺 Watch & Learn
Prefer video tutorials? We have full walkthroughs of these setups on our YouTube channel. Subscribe to IoTBhai on YouTube so you never miss a new deployment guide.
Happy Coding!