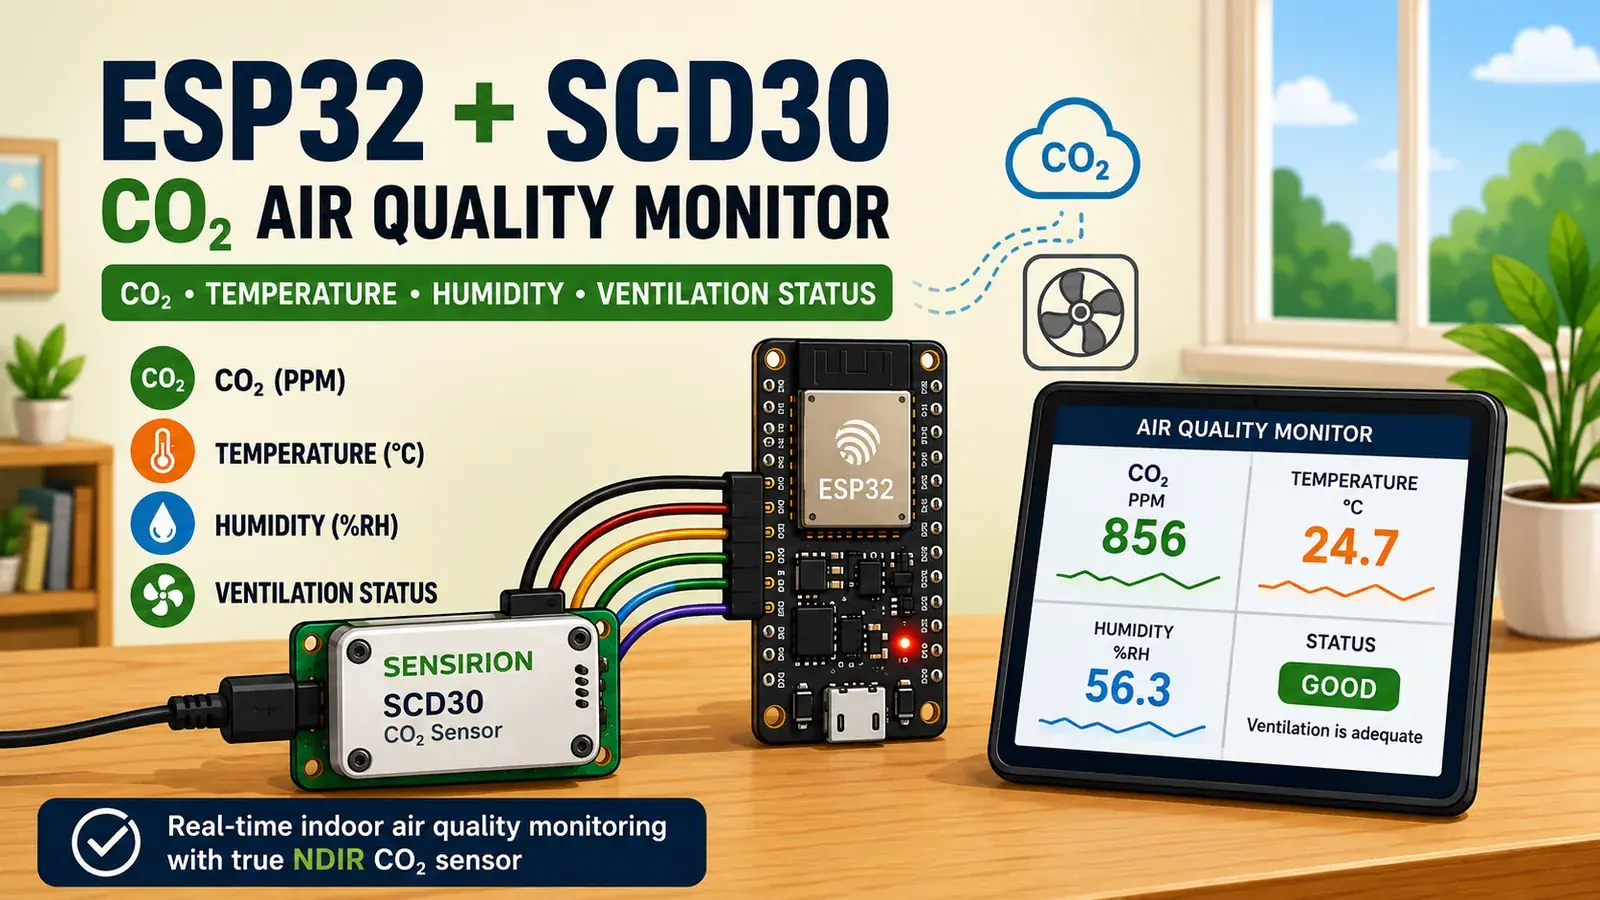
Introduction
Indoor air quality has a direct impact on how comfortable and productive a room feels. One of the most useful parameters to monitor is carbon dioxide (CO₂). In a closed or poorly ventilated room, CO₂ concentration can gradually increase as people breathe, often indicating that fresh-air ventilation is becoming insufficient.
For reliable CO₂ measurement, the Sensirion SCD30 is a great choice. Unlike inexpensive sensors that estimate CO₂ indirectly from VOC or other environmental measurements, the SCD30 uses Non-Dispersive Infrared (NDIR) technology to directly measure carbon dioxide concentration.
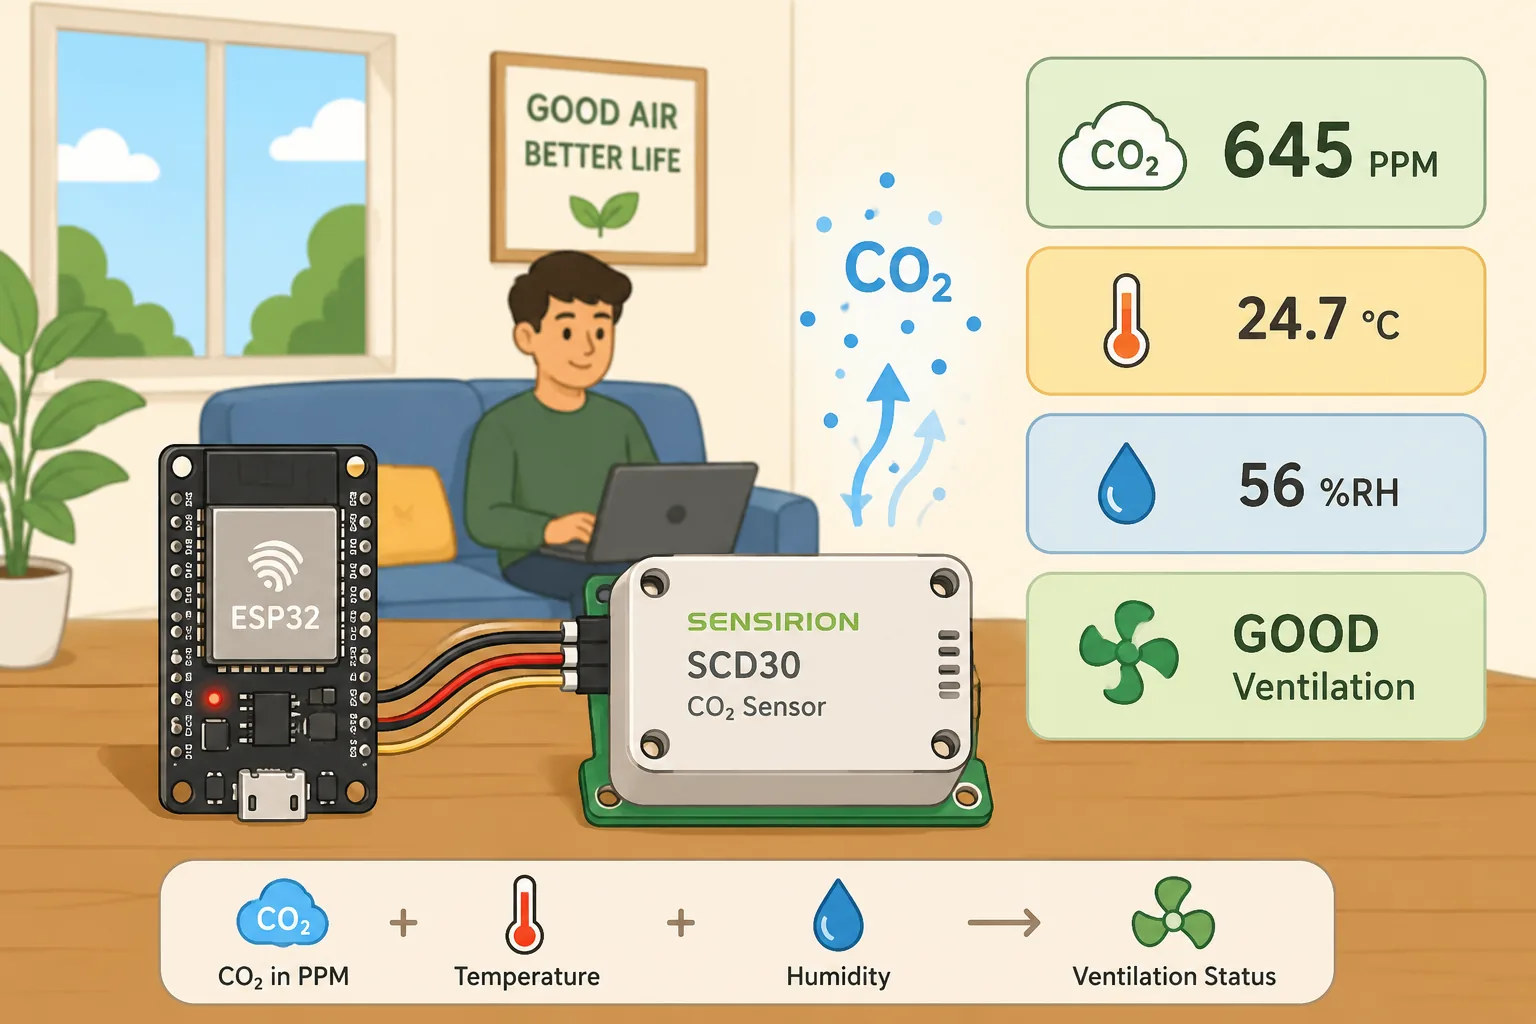
In this tutorial, we'll connect a Sensirion SCD30 CO₂ sensor to an ESP32 using the I2C interface and program it with the Arduino IDE. By the end of the project, the ESP32 will display real-time:
- CO₂ concentration in PPM
- Temperature in °C
- Relative humidity in %RH
- A simple ventilation status based on the measured CO₂ level
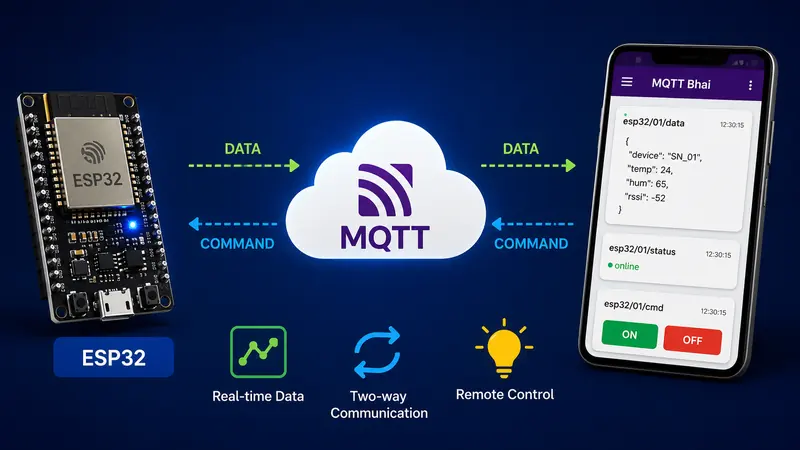
This is also a great starting point for building a more advanced IoT air-quality monitoring system using MQTT, a web dashboard, cloud storage, or mobile notifications.
YouTube Video
If you prefer watching the complete build, check out the video tutorial:
Project Overview
The basic idea behind this project is very simple.
The SCD30 measures the surrounding air and calculates the CO₂ concentration using its internal NDIR sensing system. It also measures temperature and relative humidity.
The sensor communicates with the ESP32 over I2C.
The ESP32 then reads the measurements and sends them to the Serial Monitor.
Data Flow
The data flow looks like this:
SCD30 → I2C → ESP32 → Serial Monitor
Later, the same data can easily be extended to:
SCD30 → ESP32 → MQTT → Server → Database → Dashboard
That makes the SCD30 particularly useful for IoT applications such as smart classrooms, offices, meeting rooms, homes, laboratories, and industrial environments.
What Makes the Sensirion SCD30 Different?
There are many inexpensive modules available that claim to provide CO₂ readings. However, it is important to understand that not all "CO₂" sensors actually measure CO₂ directly.
Some low-cost air-quality sensors estimate an equivalent CO₂ (eCO₂) value based on other gases or VOC measurements.
The SCD30 takes a different approach.
It uses NDIR technology, where infrared light is used to detect the absorption characteristics of carbon dioxide molecules. This allows the sensor to perform a direct CO₂ measurement rather than simply estimating it from another gas.
For an IoT project where accurate CO₂ monitoring is important, this makes the SCD30 a much more interesting sensor.
Key Features of the Sensirion SCD30
Here are some of the main features that make the SCD30 useful for ESP32 projects.
| Feature | Description |
|---|---|
| CO₂ Measurement | Direct NDIR-based CO₂ measurement |
| CO₂ Range | Approximately 400–10,000 PPM |
| Temperature | Integrated temperature measurement |
| Humidity | Integrated relative humidity measurement |
| Interface | I2C and UART |
| Supply | Suitable for common embedded/IoT applications |
| Controller | ESP32, Arduino, Raspberry Pi and other platforms |
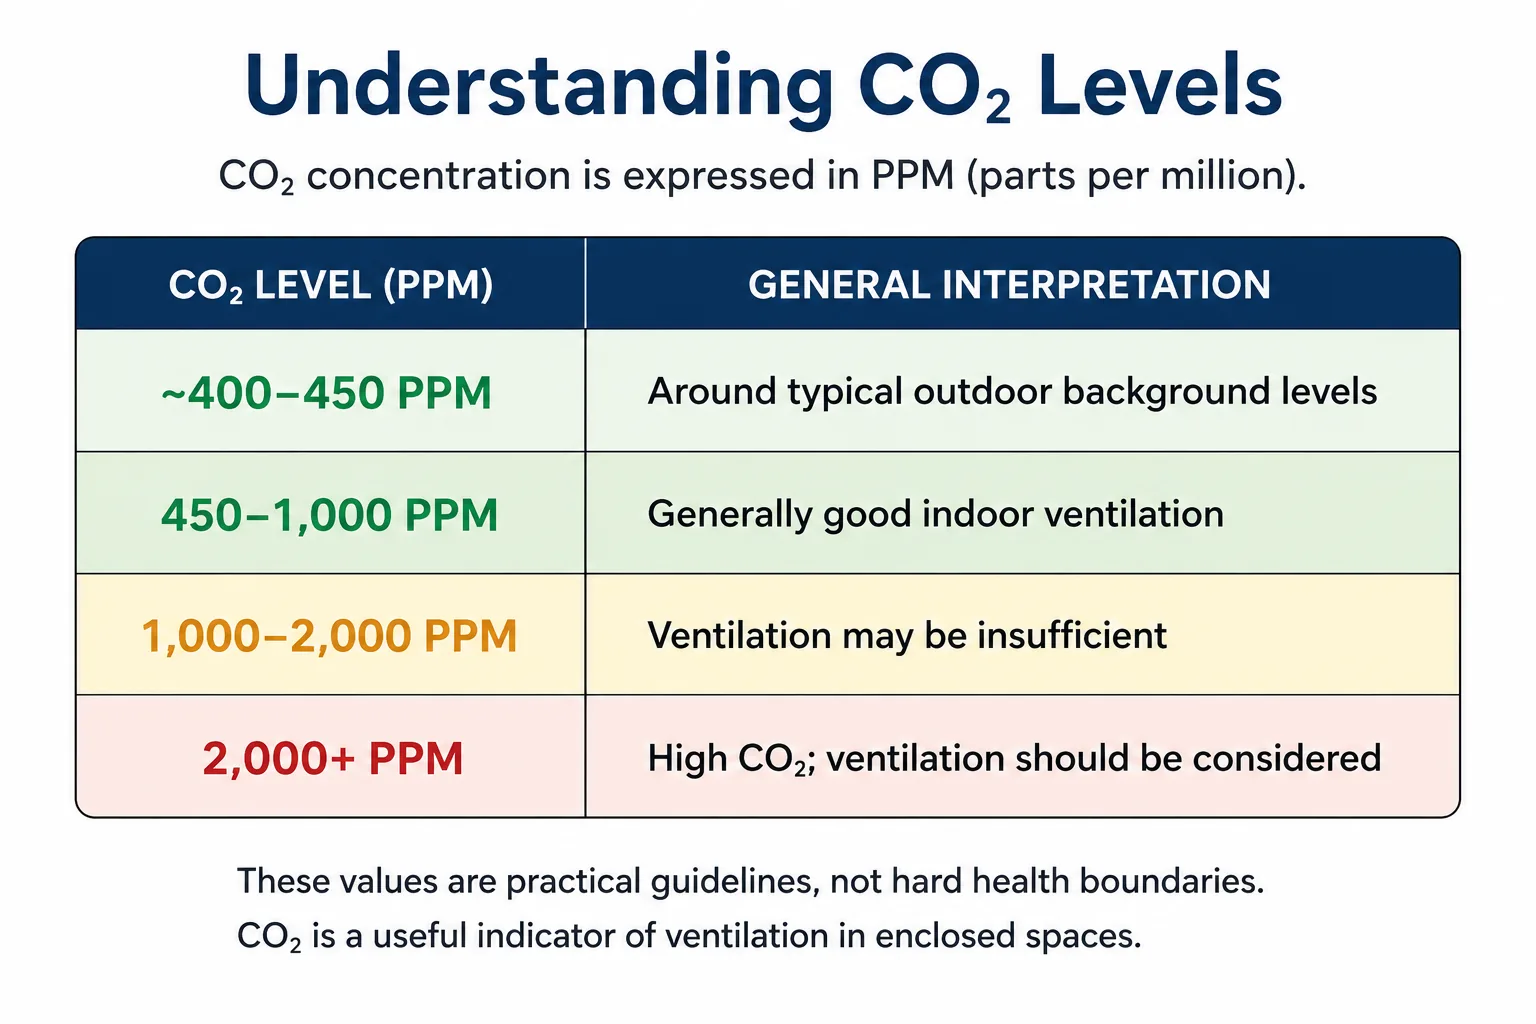
Understanding CO₂ Levels
Before connecting the sensor, let's understand what the numbers actually mean.
Hardware Requirements
For this project, you'll need the following components. I've included affiliate links for the main hardware so you can easily find the same or similar components.
| Component | Quantity | Purpose | Where to Buy |
|---|---|---|---|
| ESP32 Development Board | 1 | Main microcontroller with Wi-Fi connectivity | Amazon | AliExpress |
| Sensirion SCD30 (NDIR CO₂ Sensor) | 1 | Measures CO₂, temperature, and relative humidity | Amazon | AliExpress |
| Jumper Wires | 4 | Connect the SCD30 to the ESP32 over I2C | — |
Affiliate Disclosure: Some of the links above are affiliate links. If you purchase a product through these links, I may earn a small commission at no additional cost to you. This helps support IoT Bhai and allows me to continue creating tutorials and projects.
Software Requirements
Before starting the project, make sure your development environment is ready.
Software Tools
- Arduino IDE: Make sure you have the latest version of the Arduino IDE installed.
ESP32 Board Support: Install the ESP32 board package through the Arduino IDE's Boards Manager.
Need help setting it up? Check out my guide:
👉 How to Set Up ESP32 in Arduino IDE 2.0 (Windows/Ubuntu)
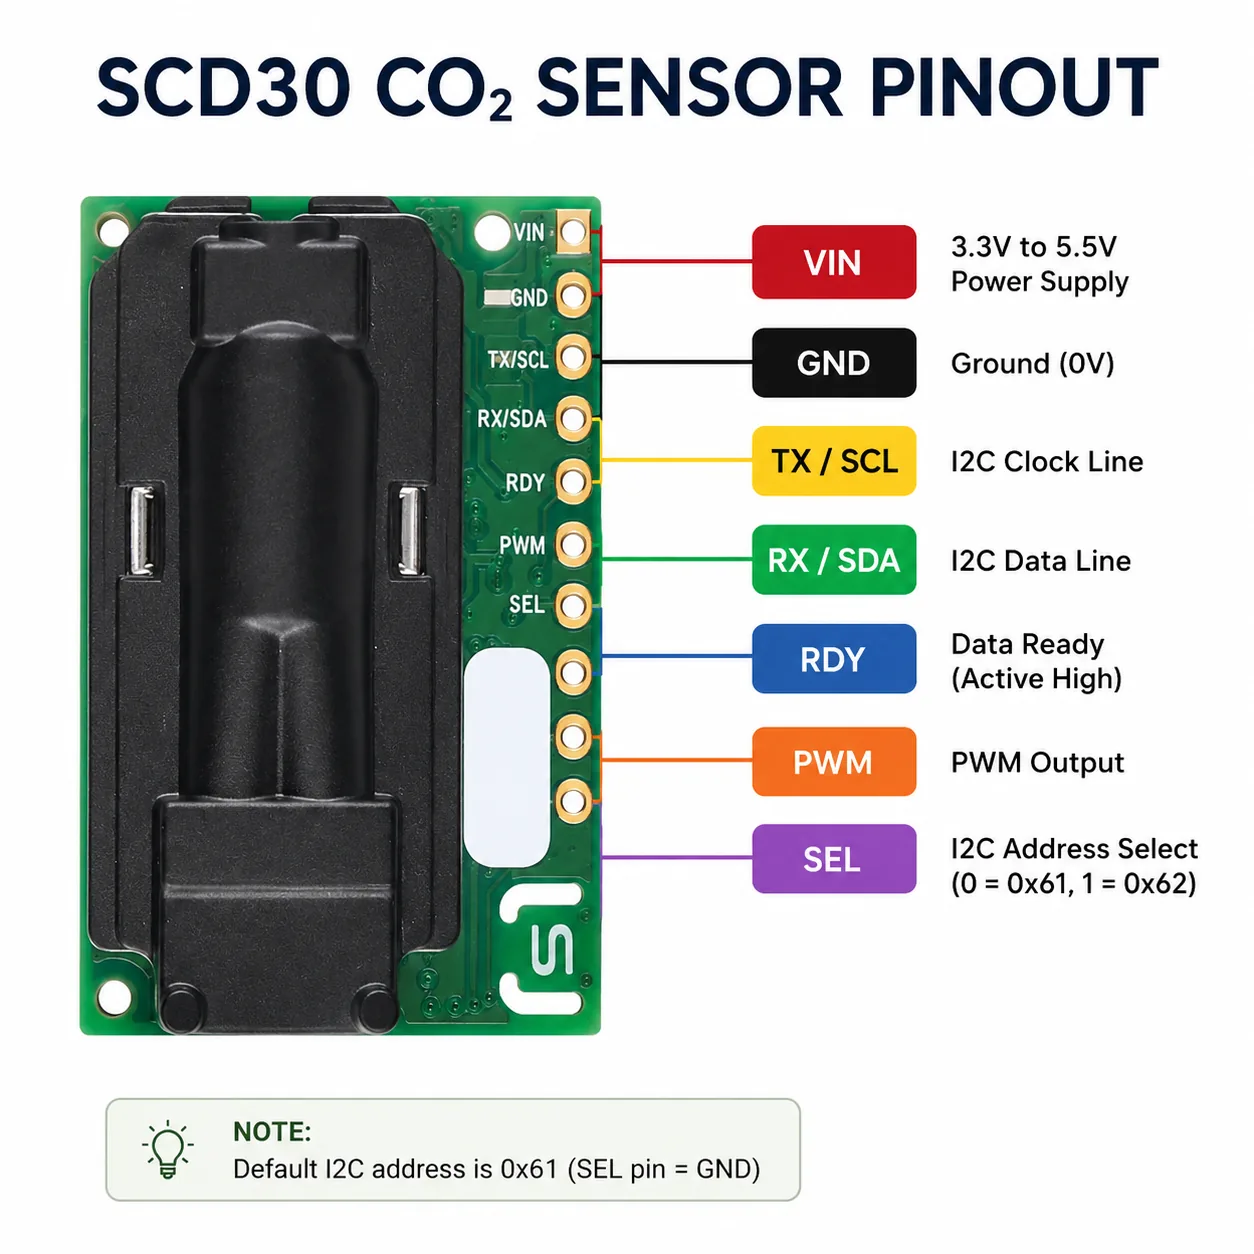
SCD30 Pinout
Circuit / Wiring Diagram
For our ESP32 setup, the wiring is straightforward:
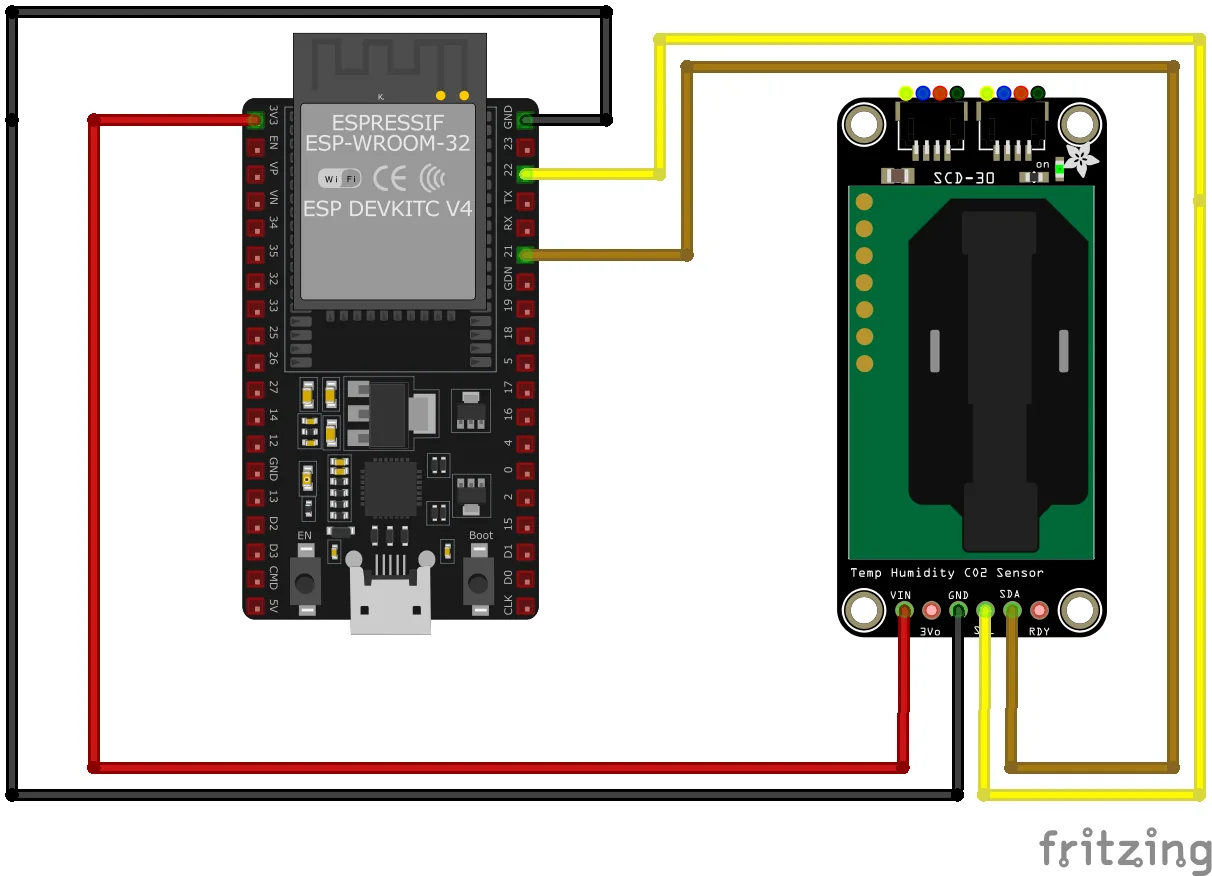
The pin map is:
| SCD30 Pin | ESP32 | Description |
|---|---|---|
| VIN | 3.3V / module-supported supply | Power |
| GND | GND | Ground |
| SCL | GPIO 22 | I2C clock |
| SDA | GPIO 21 | I2C data |
Installing the Adafruit SCD30 Library
Open Arduino IDE.
Go to: Sketch → Include Library → Manage Libraries...
In the Library Manager, search for:
Adafruit SCD30
Install the Adafruit SCD30 library.
If Arduino IDE asks you to install additional dependencies, install those as well.
After installation, we're ready to write the ESP32 firmware.
Complete ESP32 Code
Here is the complete code used in this project:
#include <Wire.h>
#include "Adafruit_SCD30.h"

// Create an SCD30 sensor object
Adafruit_SCD30 scd30;

void setup() {
  Serial.begin(115200);
  while (!Serial) {
    delay(10); // Wait for Serial Monitor to open
  }

  Serial.println("SCD30 Test Initializing...");

  // Initialize the I2C bus
  Wire.begin();

  // Try to initialize the SCD30
  if (!scd30.begin()) {
    Serial.println("Failed to find SCD30 sensor. Check wiring!");
    while (1) {
      delay(10);
    }
  }
  Serial.println("SCD30 sensor found!");
}

// Function to determine status based on the image chart provided
void checkAirQuality(float co2_reading) {
  Serial.print("Status: ");

  if (co2_reading <= 350) {
    Serial.println("Healthy outside air level (Excellent)");
  }
  else if (co2_reading <= 600) {
    Serial.println("Healthy indoor climate (Good)");
  }
  else if (co2_reading <= 800) {
    Serial.println("Acceptable level (Fair)");
  }
  else if (co2_reading <= 1000) {
    Serial.println("Ventilation required (Poor)");
  }
  else if (co2_reading <= 1200) {
    Serial.println("Ventilation necessary (Bad)");
  }
  else if (co2_reading <= 2500) {
    Serial.println("Negative health effects (Very Bad)");
  }
  else {
    // Covers 2000 to 5000+
    Serial.println("HAZARDOUS PROLONGED EXPOSURE (DANGER)");
  }
}

void loop() {
  // Check if new data is available
  if (scd30.dataReady()) {
    Serial.println("--- New Data ---");

    // Read the sensor data
    if (!scd30.read()) {
      Serial.println("Error reading sensor data");
      return;
    }

    // Print the readings
    Serial.print("CO2 (ppm): ");
    Serial.println(scd30.CO2);

    // --- CALL THE NEW FUNCTION HERE ---
    checkAirQuality(scd30.CO2);
    // ----------------------------------

    Serial.print("Temperature (C): ");
    Serial.println(scd30.temperature);

    Serial.print("Humidity (%): ");
    Serial.println(scd30.relative_humidity);
    Serial.println();

  } else {
    // Serial.println("No new data yet...");
    // Commented out to reduce spam in monitor
  }

  delay(2000); // Adjusted to 2s to match sensor refresh rate
}
Uploading the Code to ESP32
Now let's upload the firmware.
Step 1 – Connect your ESP32 to the computer using a USB cable.
Step 2 – In Arduino IDE, select the appropriate ESP32 board from: Tools → Board (ESP32 Dev Module)
Step 3 – Select the COM Port Go to: Tools → Port (and select the COM port associated with your ESP32)
Step 4 – Click the Upload button. If everything is connected correctly, the sketch should compile and upload.
Step 5 – Open Serial Monitor (Tools → Serial Monitor) Set the baud rate to: 115200
You should see:
SCD30 Test Initializing...
SCD30 sensor found!
After the sensor starts producing measurements, you'll see new readings.
Project Result
Once everything is working, the Serial Monitor should produce output similar to this:
SCD30 Test Initializing...
SCD30 sensor found!

--- New Data ---
CO2 (ppm): 568.42
Status: Excellent
Temperature (C): 26.37
Humidity (%): 57.81

--- New Data ---
CO2 (ppm): 584.76
Status: Excellent
Temperature (C): 26.40
Humidity (%): 57.95
Troubleshooting
SCD30 Not Detected
If you see:
Failed to find SCD30 sensor. Check wiring!Check the following:
- Make sure VIN and GND are connected correctly.
- Check the SDA connection.
- Check the SCL connection.
- Verify that your ESP32 is using the expected I2C pins.
- Make sure the sensor has the correct supply voltage.
- Check the jumper wires for loose connections.
You can also run an I2C scanner to verify that the ESP32 can see the sensor on the bus.
Wrapping Up
In this project, we connected a Sensirion SCD30 NDIR CO₂ sensor to an ESP32 and used the Arduino IDE to read real-time environmental data.
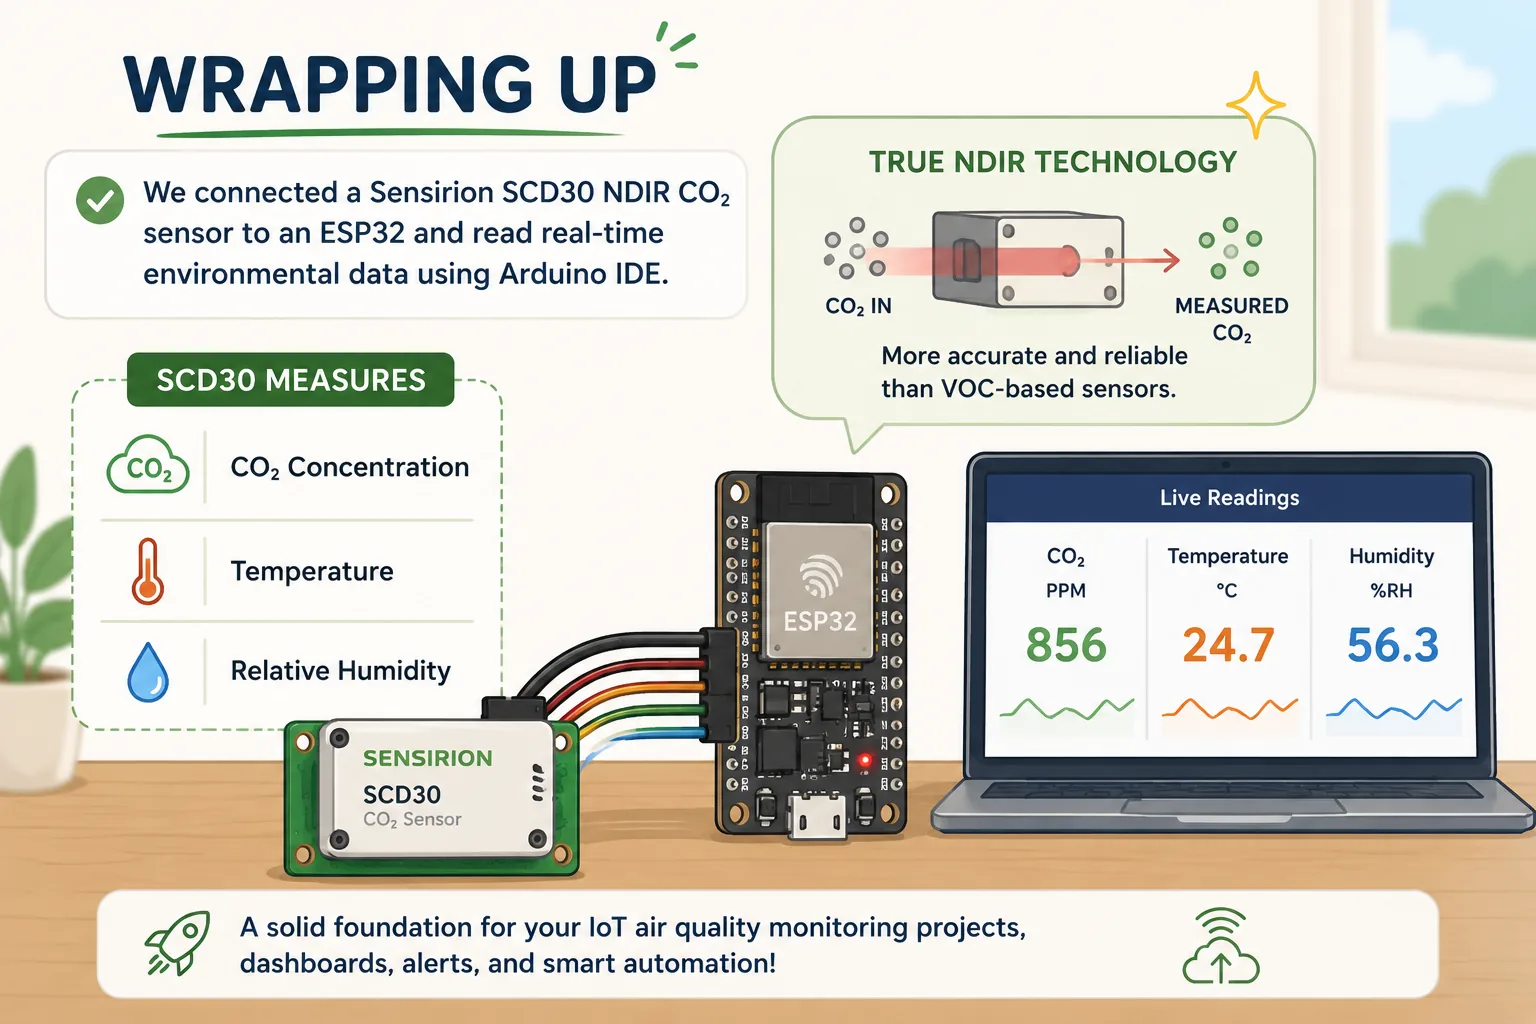
The SCD30 gives us three important measurements from a single sensor:
- CO₂ concentration
- Temperature
- Relative humidity
More importantly, the SCD30 uses true NDIR technology, making it fundamentally different from sensors that estimate CO₂ from VOC measurements.
Frequently Asked Questions
Is the SCD30 a real CO₂ sensor?
Yes. The SCD30 uses NDIR technology to directly measure CO₂ concentration rather than relying solely on an estimated eCO₂ value derived from VOC measurements.
Can I use the SCD30 with ESP32?
Yes. The SCD30 can communicate with the ESP32 using I2C or UART. In this tutorial, we use I2C.
What does the SCD30 measure?
The SCD30 provides CO₂ concentration, temperature, and relative humidity measurements.
What I2C pins should I use with ESP32?
A common ESP32 configuration is GPIO 21 for SDA and GPIO 22 for SCL. However, ESP32 allows I2C to be configured on other suitable GPIOs, depending on the board and application.
Can the SCD30 be used for an IoT project?
Absolutely. The ESP32 can read the SCD30 and send the measurements over Wi-Fi using MQTT, HTTP, Firebase, or another IoT platform.
Is 1,000 PPM a dangerous CO₂ level?
A reading around 1,000 PPM is generally better interpreted as an indoor ventilation indicator rather than an immediate danger threshold. CO₂ concentration, exposure duration, ventilation, and the overall environment all matter. For this reason, the thresholds in this project are intended primarily to provide practical ventilation guidance.
Join the discussion
Got a question, hit an error, or built this yourself? Share it below — sign in with GitHub to comment.